
Staging with the PRM
Steps to prepare the job site
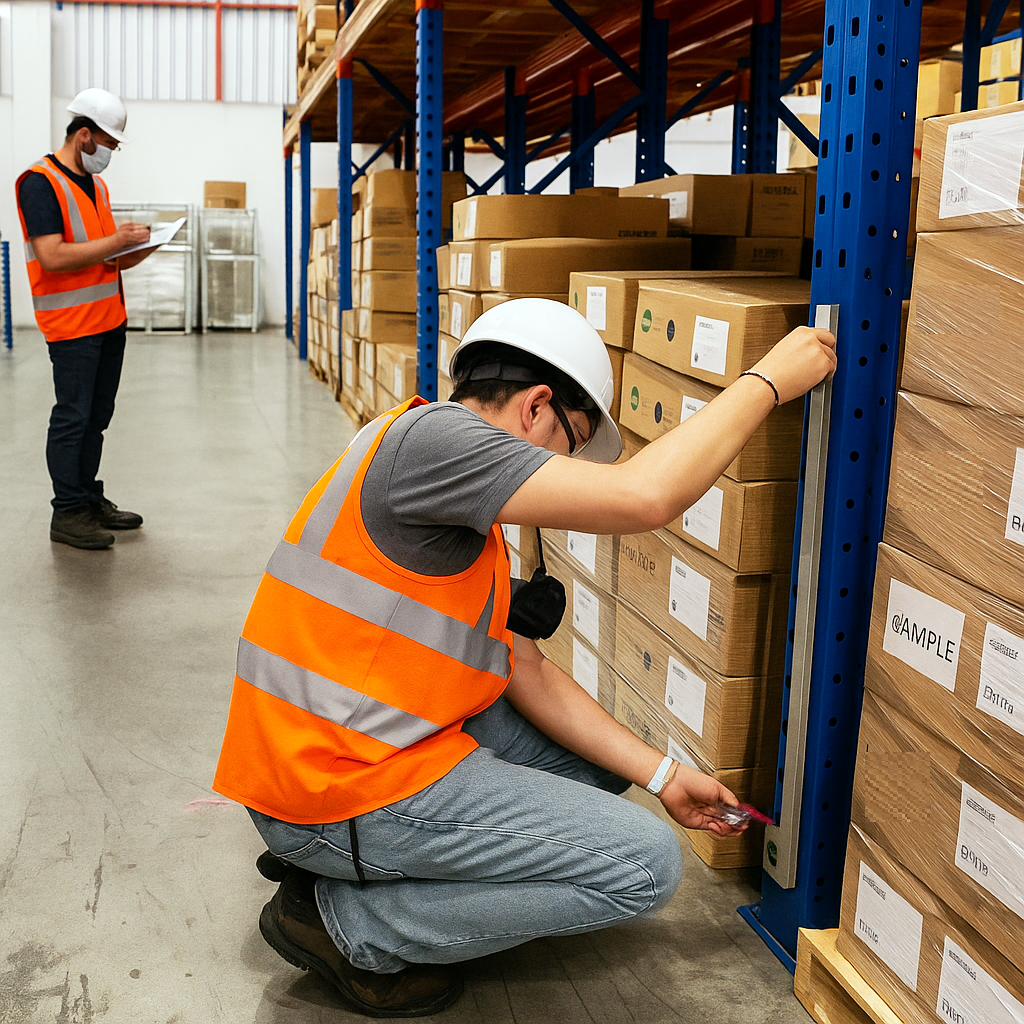
Step 1: Check fixtures
Check the shelves, pallet racks, merchandise, and other components on the fixture. Remove all obstructions in the move route that could interfere with mobilization. If directed by your supervisor, remove signage or other auxiliary components attached to the pallet rack.
Step 2: Sweep the Move Route
Sweep the entire area immediately before moving. Check that the move route is clear and the area around the rack has no debris, tools, or obstacles.
Step 3: Report any site hazards
Inform your supervisor when you find a safety concern or the site needs added preparation around the staging area.
The importance of preparing a site
- Dust, debris, or small objects on the floor can cause rollers or skates to bind or slip.
- Keeping the path clean ensures workers have solid footing, reducing slips, trips, and falls.
- The PRM skates rely on smooth, level contact with the floor.
- Even small obstructions can damage wheels, brackets, or jack assemblies.
- Clean paths prevent sudden stops or jerks that could strain the fixture or equipment.
- A clear, level route allows for slow, steady movement — key to maintaining control of heavy fixtures.
- Saves time and keeps the project on schedule.
- A clean, well-prepared move path shows that the crew follows proper procedure and values safety.
Unloading and Preparing the PRM Skates
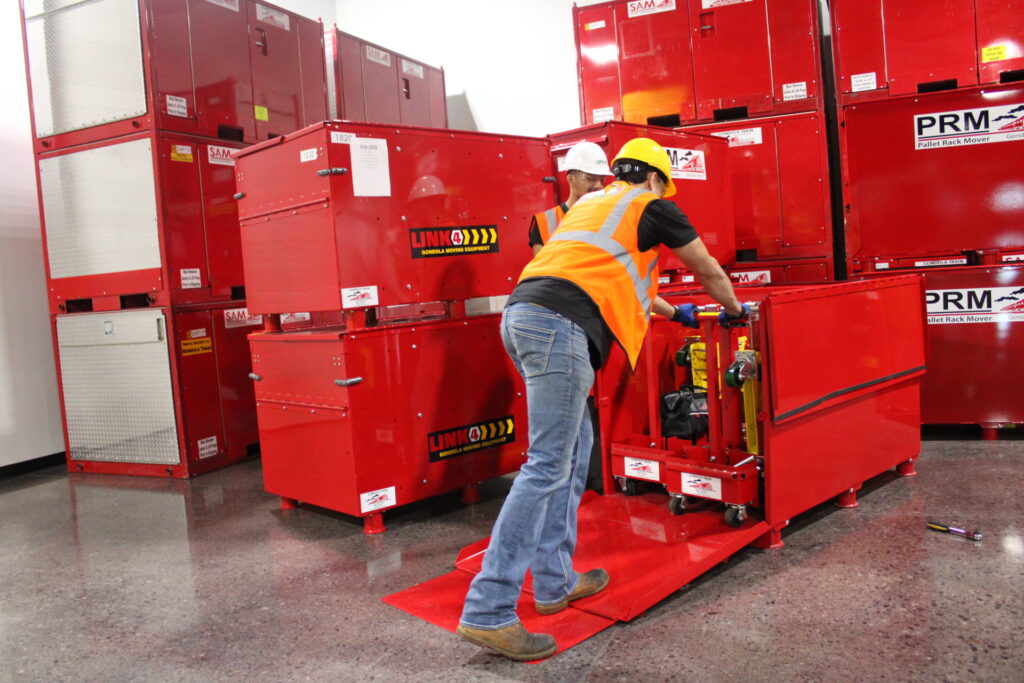
- Open and Set Up the Box
- Open the lid of the PRM system box.
- Drop the ramp door down to create a smooth path for unloading.
- Roll both workflow carts down the ramp to a clear work area.
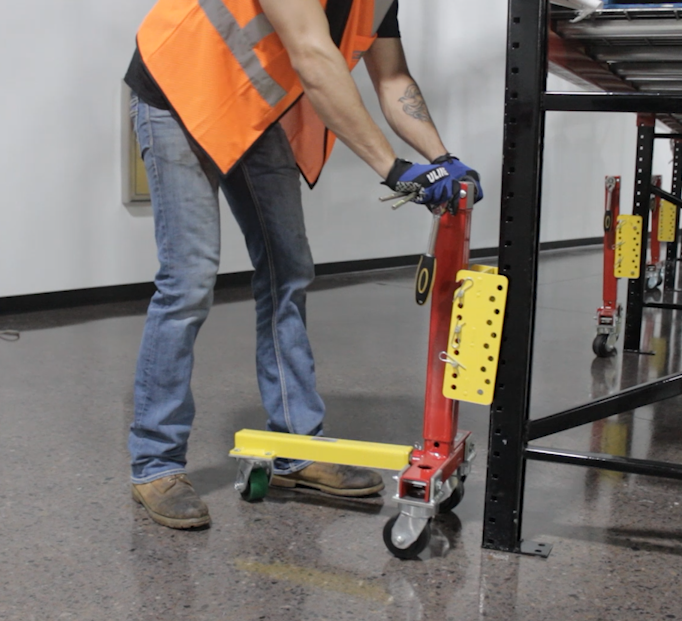
- Remove and Prepare the Skates
- Carefully remove each PRM skate from the workflow carts.
- Detach the outrigger from each skate and insert it into the outrigger socket, securing it with a detent pin – this allows you to roll or relocate the skate safely instead of carrying it.
- Verify that pin plates and saddles are properly secured using hair pins before proceeding.
- Position the Skates Around the Fixture
- While one part of the team continues unloading, have others begin positioning the PRM
skates around the first pallet rack fixture to be mobilized. - Place each skate in front of an upright.
- While one part of the team continues unloading, have others begin positioning the PRM
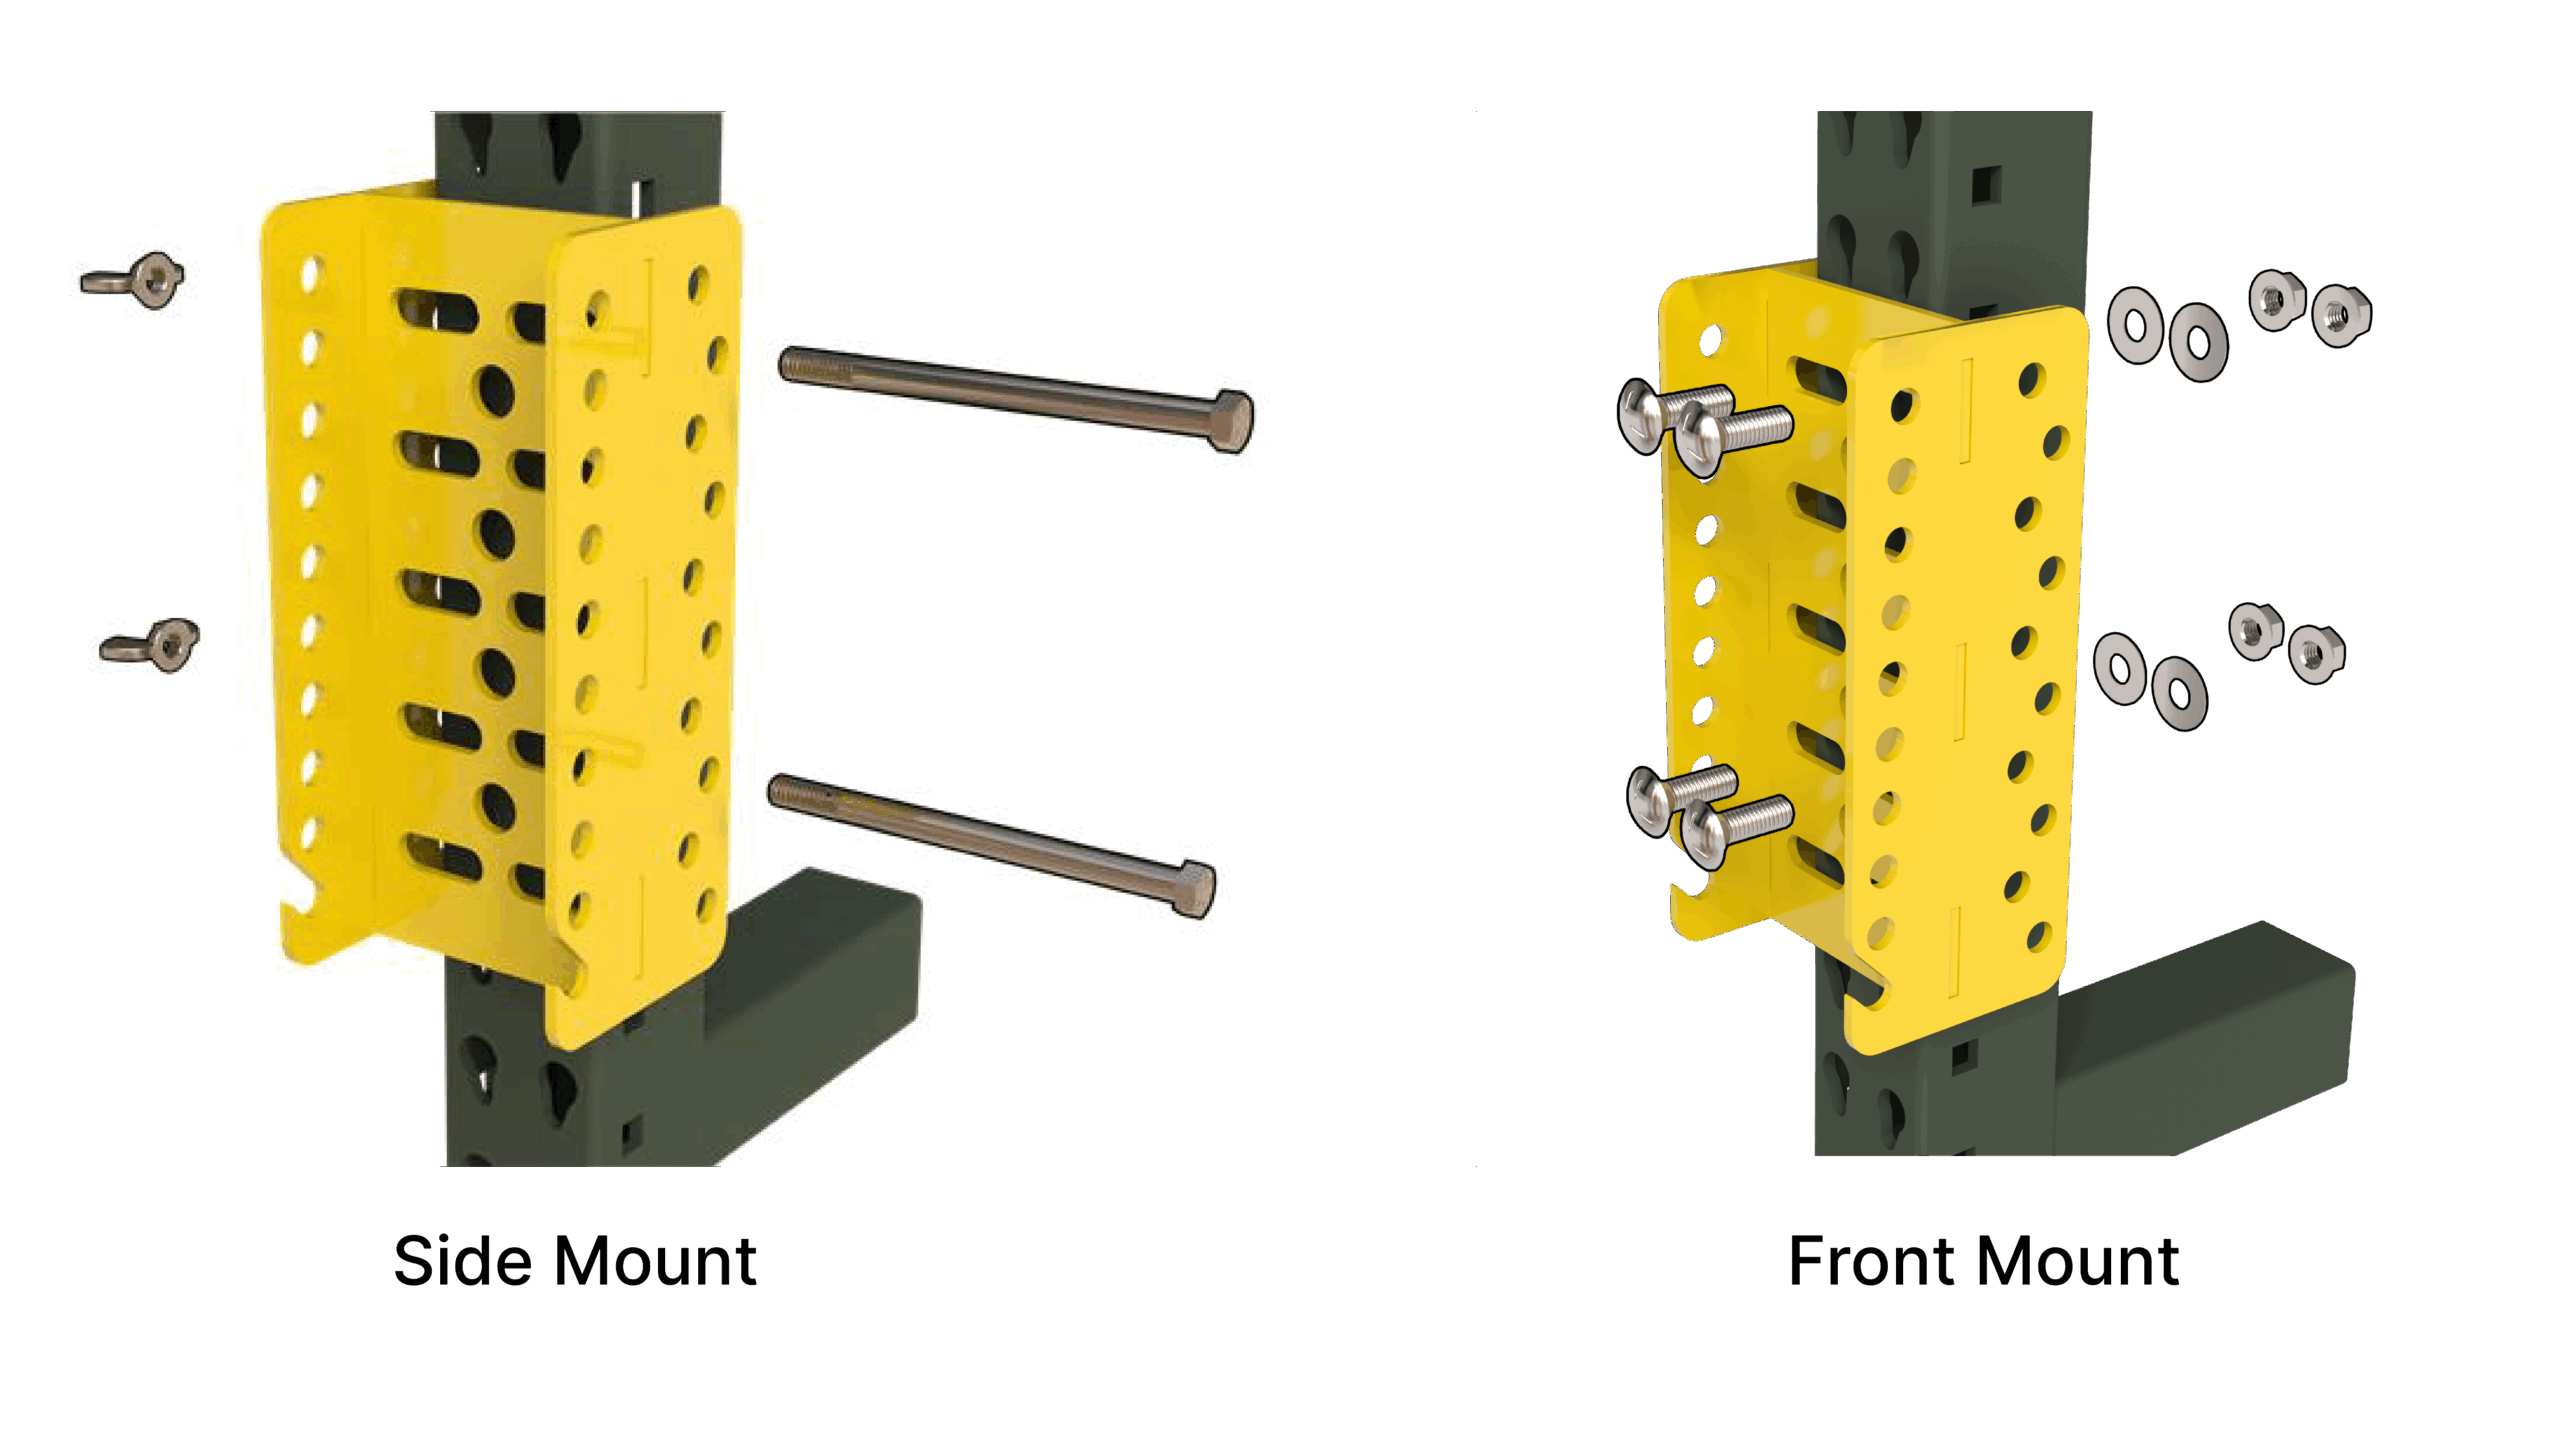
- Determine the Mounting Method
- Identify whether the saddles will be side-mounted or front-mounted:
- Side Mount (Most Common): Saddle stays attached to the skate.
- Front Mount: Saddle must be removed from the skate and attached directly to the pallet rack upright.
- Refer to the visual guides provided below to confirm correct orientation and hardware placement.
- Identify whether the saddles will be side-mounted or front-mounted:
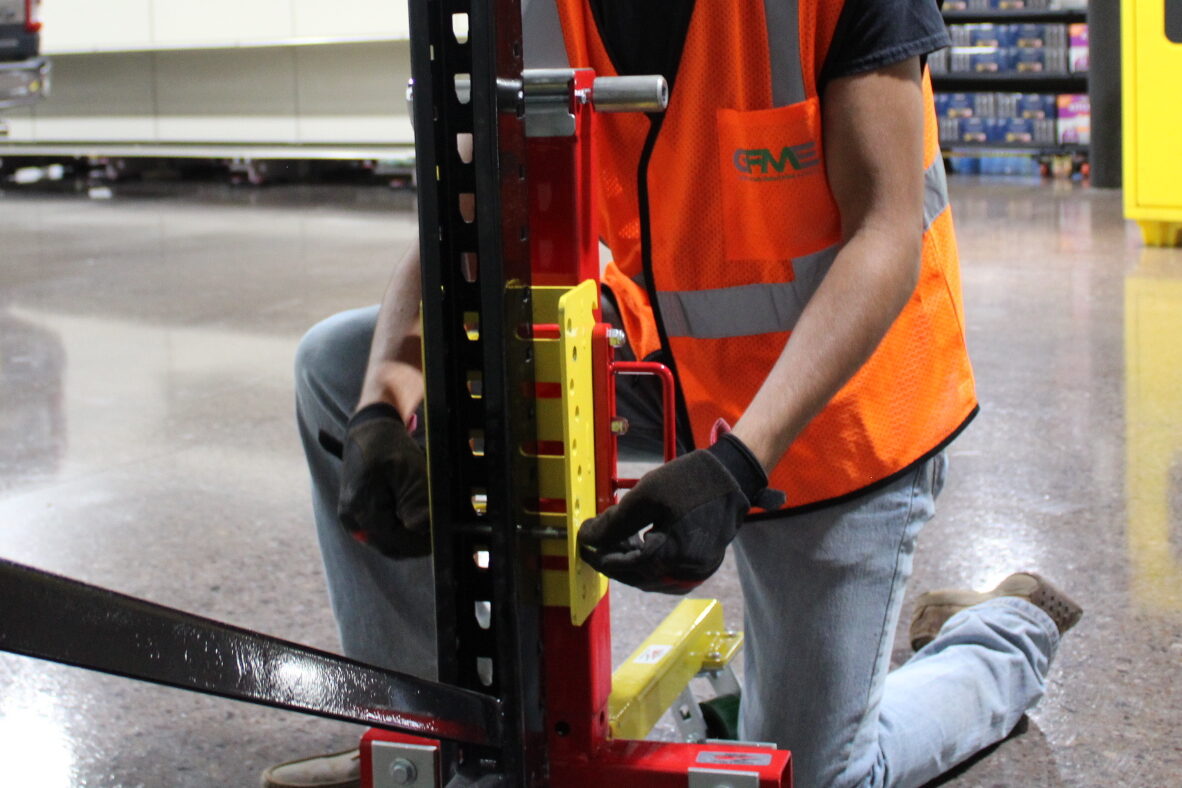
- Install the Skates
- Confirm the correct mounting method.
- Install the saddles and skates onto the pallet rack uprights.
- Ensure all skates and saddles are securely attached before lifting.
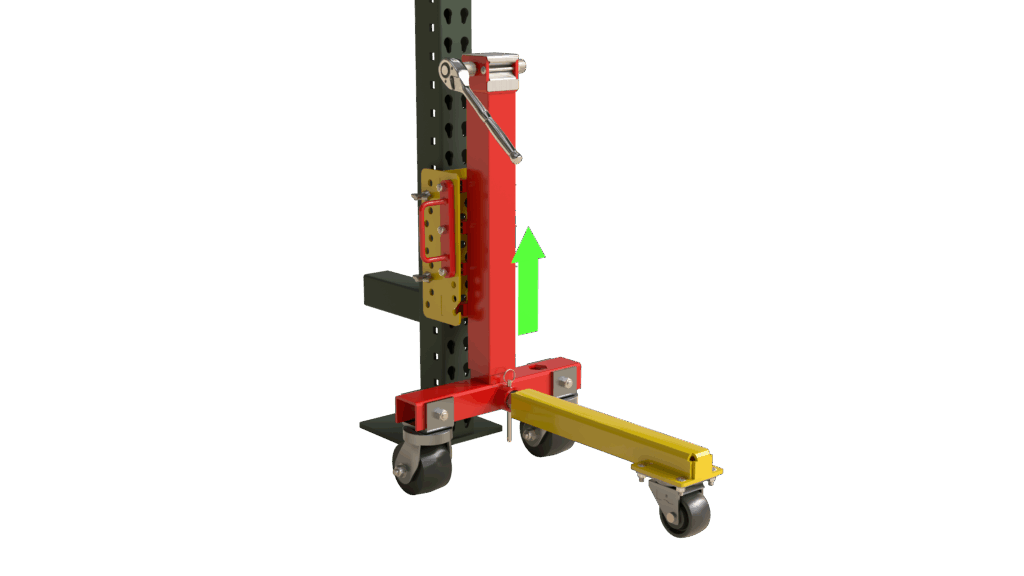
- Begin lifting at one end of the fixture. Lift both sides of the fixture simultaneously.
- Do not lift higher than 1/2 inch off the ground, just enough for safe mobilization clearance.
Understanding the process and fully carrying out your assigned role is key to both the success of the fixture move and your personal safety. If you’re selected to lead the team, be confident and communicative — speak up, assign clear roles, and keep the group organized to avoid confusion and unnecessary delays.